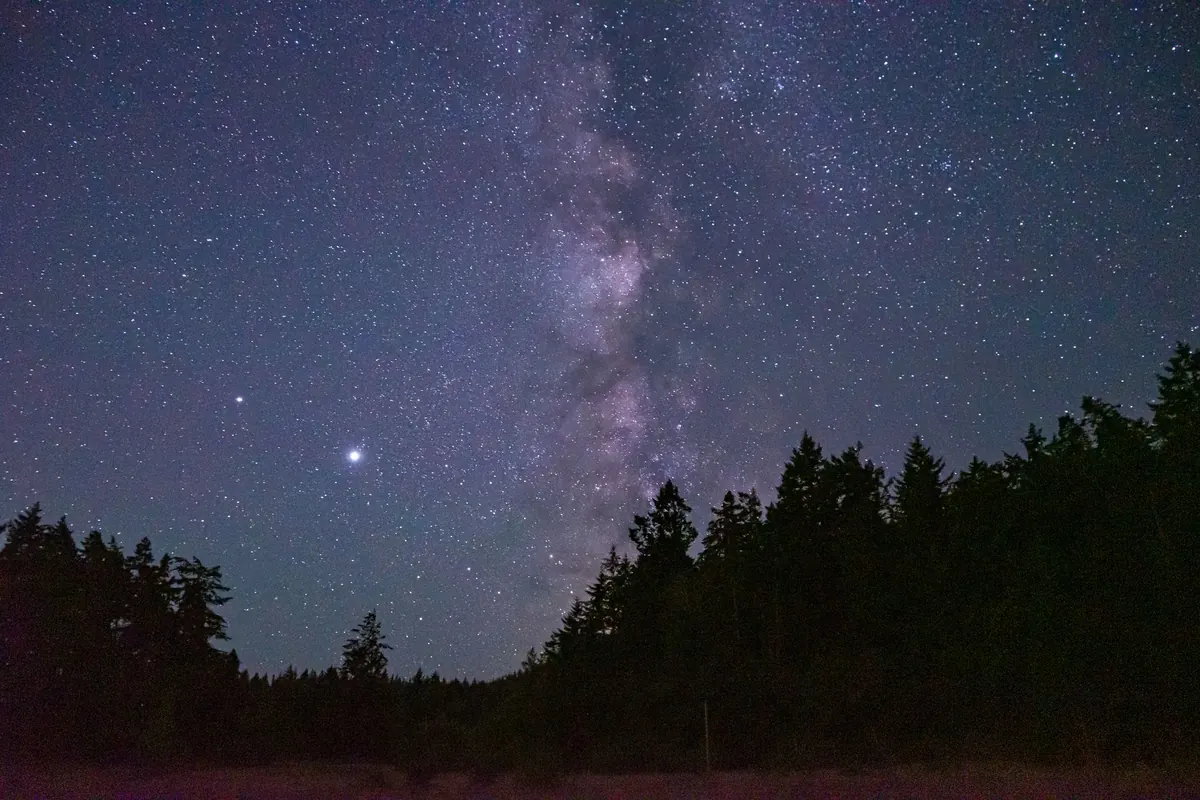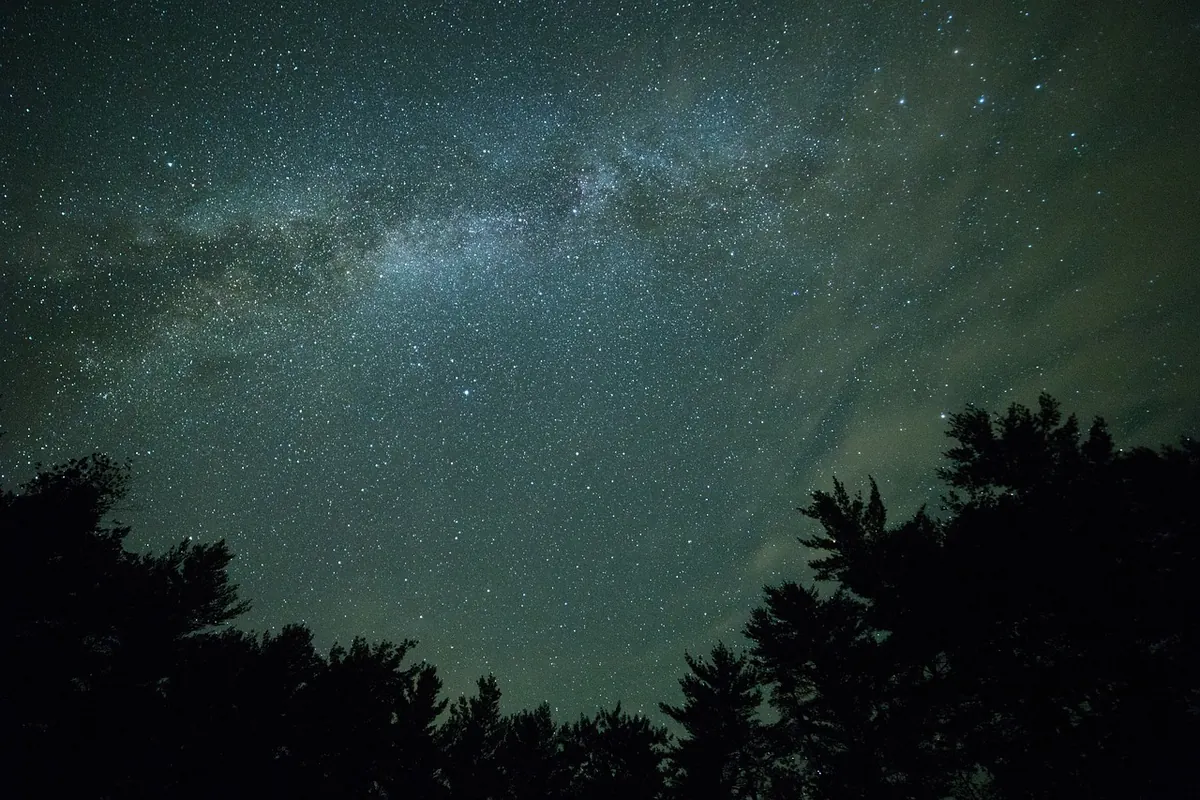
The first proper look at a clear night sky can be disorientating. There is an awful lot of it, and no obvious place to start. The encouraging part is that a good first night needs no equipment at all. From an ordinary back garden you can see the Moon's craters, the brighter planets and half a dozen constellations, provided the sky is clear and you give your eyes time to settle. Budget an hour, dress more warmly than you think you need to, and begin with the brightest things up there. Think of it as a gentle introduction, not a test. You are not trying to identify everything; you are learning to look.
Before You Go Out: The Two-Minute Check
Cloud ruins more sessions than anything else, so use a forecast that shows cloud cover hour by hour rather than a vague sun-behind-cloud icon. Anything under about 30 per cent cloud is worth a try. Clear Outside and the Met Office both give hourly detail, and most weather apps have a cloud percentage if you dig for it. Pay attention to the difference between low, medium and high cloud; high cloud can still dim the stars even when the forecast says "partly cloudy".
Then check the Moon. A bright Moon washes out everything except the brightest stars, which makes it a poor night for hunting constellations and an excellent night for looking at the Moon itself. Moonrise and set times are easy to find, and they shift by roughly an hour each day. If the Moon is up and bright, either embrace it or plan your session for after it sets. A full Moon is blinding for deep-sky objects, but its craters and rays are spectacular through even cheap binoculars.
If you are walking somewhere away from home, tell someone where you are going and when you expect to be back. Take a torch even if you plan to use red light once you are set up. Footpaths and fields are uneven in the dark. A charged phone is useful, but keep it in a pocket rather than in your hand; the screen destroys your night vision.
What to Wear and Take With You
Standing still in the dark is far colder than walking about, and UK nights stay chilly well into May. Layers beat one heavy coat, because you can add and remove them as the temperature drops. Remember that you lose heat from your head, hands and feet first, so those are the places to insulate properly.
- A thermal base layer, then a fleece or jumper, then a windproof outer layer.
- A hat, thin gloves, thick socks and boots with grip.
- A folding chair or a foam mat. Sitting back and looking up beats standing and craning.
- A flask of tea or coffee, and something to eat.
- A red torch, or a head torch with a red mode.
- Binoculars, if you already own a pair. Any size will do for a first night.
Thin gloves matter more than they sound. You need to adjust binoculars and turn pages without taking them off. A scarf helps too, since a lot of heat leaves through your head and neck. If you wear glasses, keep them on for stargazing; they correct the whole sky, not just the ground. A small notebook and pencil can be useful for sketching what you see, and pencil does not freeze or glare like a phone screen.
Finding a Dark Enough Spot
You do not need a Dark Sky Park for a first night. Start in your own garden, a quiet corner of a park, or a playing field with no floodlights. Turn off what you can: garden lights, a security light, the porch light you left on. Even a small amount of local light makes a difference.
Face away from the nearest streetlamp. Even one bright light at the edge of your vision shrinks what you can see, and moving a few metres can make a surprising difference. Sit with the light behind you rather than beside you. If you can, use a wall, hedge or shed to block the worst of it. Give your eyes ten to twenty minutes to adapt; you will notice more stars appearing as your pupils widen and your eyes switch to night mode.
If you want a genuinely dark sky, the UK has several: Northumberland National Park, Galloway Forest Park in Scotland, Exmoor, Dartmoor, the Yorkshire Dales and the South Downs all have dark-sky areas or designated discovery sites. Some are official Dark Sky Parks or Reserves; others are simply rural spots with low light pollution. Kielder Forest in Northumberland is one of the best, with its observatory and dark-sky ranger events. But for a first night, a local field with a streetlamp behind you is plenty.
Your First Targets: What to Look At
Start with the brightest objects, because they are the easiest to find and the most rewarding. The Moon is the obvious first stop. Even a small pair of binoculars shows craters, the dark maria and the bright rays around young craters like Tycho. Hold the binoculars steady by resting your elbows on a wall or sitting in a chair.
Next, look for planets. Venus is the brilliant "evening star" or "morning star", never far from the Sun and always dazzling white. Jupiter is bright and steady, and binoculars reveal its four largest moons as tiny dots in a line. Saturn looks like a bright yellowish star to the naked eye, but a small telescope or good binoculars can show its rings. Mars has a distinctly orange tint. You do not need to know which is which at first; just notice the differences in colour and steadiness. Stars twinkle, planets usually do not.
Then try a few constellations. The Plough (part of Ursa Major) is visible all year from the UK and points to Polaris, the North Star. Orion is unmistakable in winter, with its three-star belt and the bright red Betelgeuse and blue-white Rigel. Cassiopeia is a big W shape in the north. In summer, look for the Summer Triangle of Vega, Deneb and Altair. These are your landmarks. Learn one or two per night rather than trying to memorise the whole sky.
A Simple First-Night Plan
If you are not sure where to start, follow this gentle sequence. It takes about an hour and leaves room for simply enjoying the view.
- Check the forecast and Moon phase before you go out.
- Dress in layers, take a chair, a red torch and a warm drink.
- Find a spot away from direct lights and let your eyes adapt for 15 minutes.
- Look at the Moon first, if it is up. Use binoculars if you have them.
- Find one bright planet or one easy constellation, such as the Plough or Orion.
- Use a stargazing app in red-light mode to confirm what you have found, then put the phone away.
- Finish by looking at a dark patch of sky and counting the stars you can see. Next time, try a different patch.
This plan is deliberately loose. The best first night is the one where you stay out longer than you planned because you are enjoying yourself.
Common Beginner Mistakes
A few small errors can make a first night feel harder than it needs to be. Avoid these if you can.
- Using a white torch or phone screen. It resets your night vision in seconds. Use red light, or keep the screen dim and brief.
- Standing up the whole time. Your neck will ache and you will see less. Sit or lie back.
- Trying to see everything at once. Pick two or three targets and spend time on them.
- Ignoring the Moon. If it is up, work with it rather than fighting it.
- Not checking cloud cover. A clear-looking sky can be clear in one direction and cloudy in another.
- Giving up after five minutes. Dark adaptation takes time. The sky will look much better after 20 minutes.
Remember that even a short
Photo: Pexels / Pixabay